Fuba Automotive | Flow Manual
Written By Matthias (Admin)
Last updated 2 months ago
Welcome to the Web EDI portal of Fuba. In the following manual we guide you through the basics of the platform and processes. After you received the initial registration mail from ecosio and created an account, you are ready to go!
The access data must be created beforehand by the ecosio team. This is done after Fuba sent you the first information about the migration. To start login into the Flow via the links https://web.ecosio.com or https://app.ecosio.com. Please make sure that you are using one of these URLs to securely login.
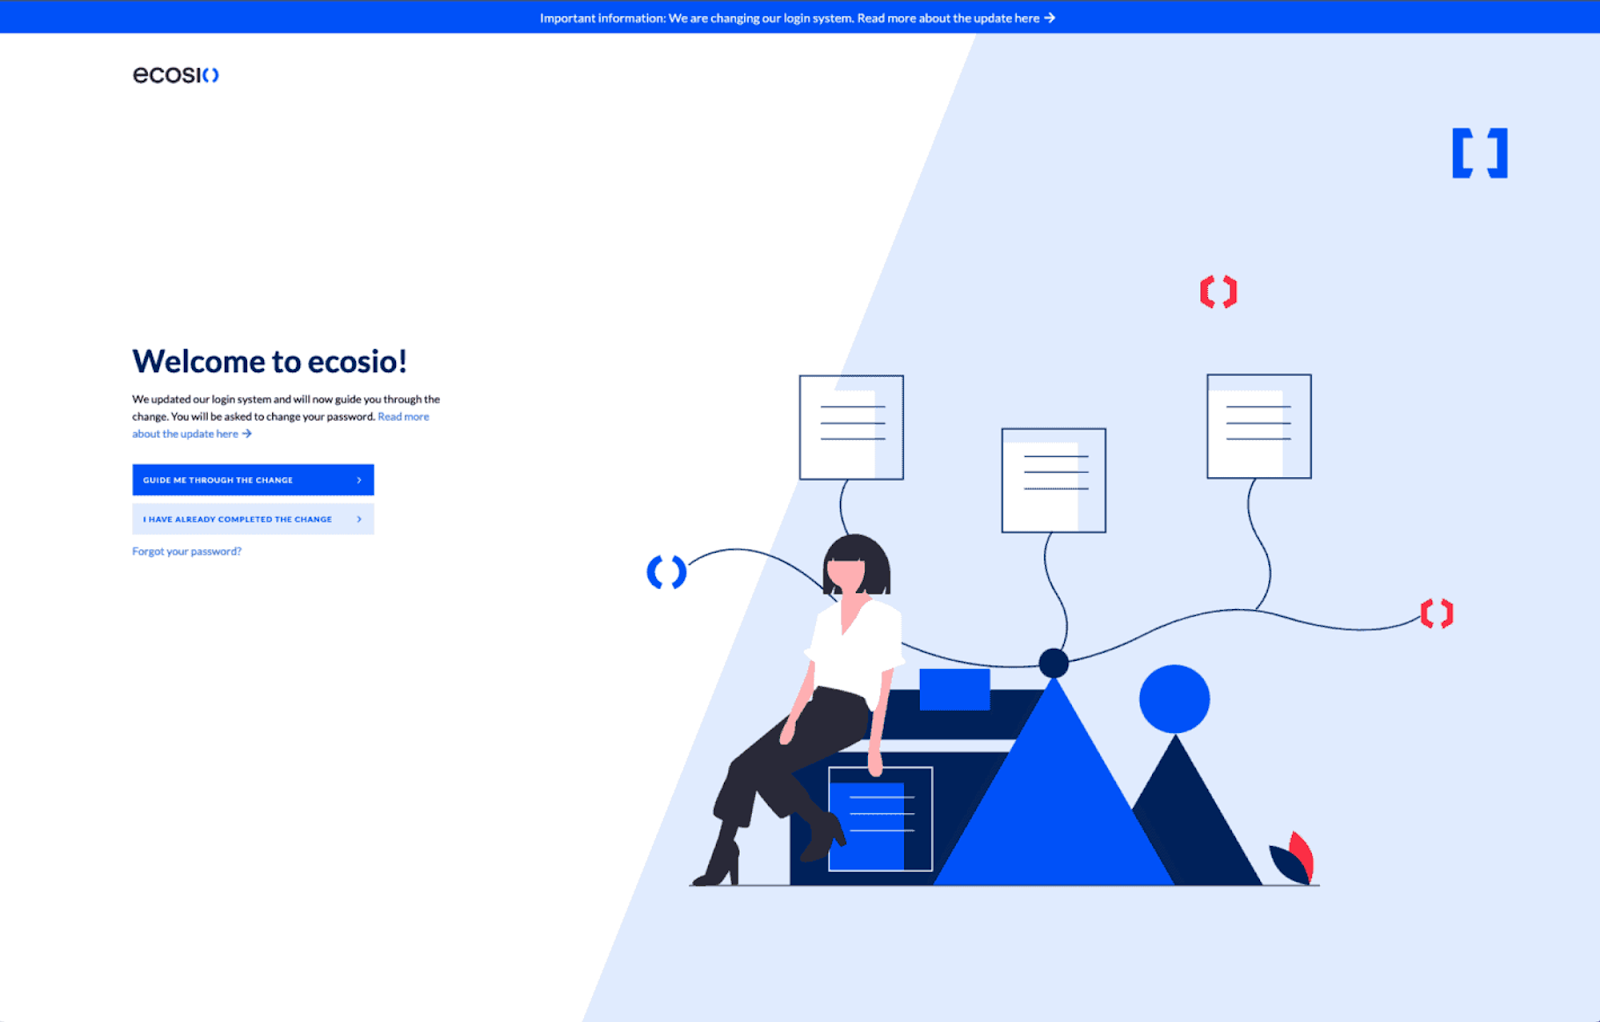
If you should have but have not yet received any invitation via mail from eventnotifications-prod@ecosio.com, you can request it again via https://app.ecosio.com/account/resend-invite with the mail-address which Fuba sent the information mails to. If you already have a account for the old Fuba Portal (called WebEDI, VDA or Industry - vda.ecosio.com) you can use the password reset https://app.ecosio.com/account//request-password-reset. After logging in successfully, you will see the main functions on the left side of the page: Delivery Forecasts
Password Reset
If you lost your password or have problems with logging in, you can request a new password via https://app.ecosio.com/account/request-password-reset. You will receive a reset link per mail and then are able to reset the password. We recommend the use of a password manager and a secure password.
Process Overview
The Flow solution for Fuba supports the following processes for orders:
Receiving Delivery Forecasts incl. sending dispatch advices
Receiving Just-In-Time Schedules
Sending dispatch advices
Receiving receipt advices
Delivery Forecasts
To view your delivery forecasts, click on the Delivery Forecases menu item at the top left.
Batch actions (Archiving & Download)
Multiple orders can now be archived within a few clicks. Select the desired delivery forecasts with the selection icon on the left side of the line. You can also select multiple delivery forecasts on the current page (max. 100 orders) with a click on the selection icon in the table header. Then click on the desired batch action at the top right above the table. After a successful archiving or downloading, a notification is displayed. Please note that batch actions can take some time.
Viewing delivery forecasts
Click on the eye symbol on the right side of the row to go to the order process details and follow-up document creation for an delivery forecast. The detailed view is then displayed. Click on the green download button to download a PDF version of the delivery forecast. Click on the New dispatch advice button to create a dispatch advice for the corresponding position from the delivery forecast. All documents can be viewed in detailed with a click on the respective document at the bottom of the page. There, the documents can also be downloaded as PDFs.
Subsequently, you can finish the creation via the send button. Then, you are redirected to the order detail page access the document and create a corresponding dispatch advice.
Sending dispatch notifications
In create modal select the desired structure and type for your dispatch advice and you will be directed to the edit mask.
Layer selection
1 Layer - Build a single layer packaging structure (Boxes)
2 Layers - Build packaging structures with two levels (Pallet + Boxes)
Packaging Unit selection
Homogenous - Articles can’t be mixed on pallet or box level
Mixed - Articles can be mixed upon pallets but not on box level
Please fill in all the mandatory fields in the header before moving on to the item section. You can also change the document number and date.
Step-by-Step Guide
Interactive walkthrough:
Create and Submit a New Dispatch Advice →
What happens overall
A Dispatch Advice tells Fuba what will be delivered, how it is packed and which labels or documents belong to the shipment.
In Flow, you can create a Dispatch Advice in three ways:
From a Delivery Forecast
From a Just-In-Time Schedule
From scratch via the Dispatch Advice scenario
The main logic is the same in all three cases:
Open or create the source document
Start the Dispatch Advice
Select the packaging structure
Complete the required header and delivery fields
Build the packaging structure
Generate packaging and Shipping IDs
Review, submit and download the documents or labels
1. Start from a Delivery Forecast
Delivery Forecasts from Fuba are usually the starting point. Open Delivery Forecasts from the sidebar, then use search and filters to find the correct document.

Open the document details via the view icon. The detail page shows the forecast information and the related materials. From there, click CREATE DESADV. Flow prepares a Dispatch Advice using the available document information.
If needed, you can also use Download/Print to export the Delivery Forecast as PDF before creating the Dispatch Advice.
2. Choose the Dispatch Advice setup
After clicking CREATE DESADV, Flow asks for the Dispatch Advice settings.
Select:
Delivery date
Destination / consignee
Packaging structure
Packaging unit type
The delivery date and consignee are usually prefilled from the preceding Delivery Forecast or Just-In-Time Schedule.
Packaging structure defines the physical setup:
1-layer Box: the delivery is packed directly in boxes
2-layers Pallet: the delivery uses pallets with boxes on top
Packaging unit type defines whether articles are mixed:
Homogeneous: one article type per packaging unit
Mixed: multiple article types in one packaging unit

Continue to the edit mask after selecting the setup.
3. Complete header details
The Dispatch Advice creation mask opens with the header section first.
Review the prefilled data and complete all required fields. Fields marked with an asterisk (*) are mandatory.
Typical header information includes:
Dispatch advice number or generated number
Delivery date
Sender and receiver details
Transport and weight information
Other Fuba-required fields
If information is missing or incorrect, correct it before continuing. The header data is used for the submitted Dispatch Advice and downstream documents.
4. Build the packaging structure
After the header section, continue with the packaging structure.
Add the required package type, then fill in the delivery and article information. For mixed structures, select whether the package is a pallet or cover. For box-only structures, Flow keeps the setup simpler and uses the available box configuration.

For each package or article, enter the relevant quantity and packaging data.
The number of packages is calculated from:
Dispatch quantity
Quantity per pack
If you change either value later, click (Re-)Generate Packaging again.
5. Generate packaging and Shipping IDs
Click (Re-)Generate Packaging to create the Shipping IDs for the delivery.
This step is important because the generated IDs are used for the package labels. If you forget this step, labels may be missing or outdated.
After generation:
Check whether the number of packages looks correct
Correct quantities if needed
Generate again after every relevant change
Save the package structure before moving on
You can add more inner packages, pallets or covers depending on the delivery structure. Use the trash icon to remove incorrect packages or items.
6. Review and submit
When the packaging structure is complete, continue to the review mode.
Review the Dispatch Advice one last time:
Header details
Delivery information
Packaging structure
Article quantities
Generated Shipping IDs
At the bottom of the review page, click Submit Dispatch Advice to send it to Fuba.

After submission, Flow forwards you back to the overview page. You can then download the submitted document or package labels via Download/Print.
7. Start from a Just-In-Time Schedule
The Just-In-Time Schedule flow works like the Delivery Forecast flow.
Open Just-In-Time Schedules from the sidebar, select the document via the view icon, review the schedule details and click CREATE DESADV.
From there, the same Dispatch Advice process starts:
Select packaging setup
Complete header details
Build the packaging structure
Generate Shipping IDs
Review and submit
8. Create a Dispatch Advice from scratch
You can also create a Dispatch Advice without a linked Delivery Forecast or Just-In-Time Schedule.
Open Dispatch Advice from the sidebar and click Create Dispatch Advice. Because there is no linked source document, Flow opens a streamlined creation modal.
Choose the packaging setup, then enter the required Dispatch Advice number and delivery details manually. You can also generate a dispatch advice number automatically.
After that, continue like in the other flows:
Complete all required fields
Add packages and articles
Generate packaging
Review
Submit
Download the needed documents or labels
Important reminders
Mandatory fields are marked with an asterisk (*)
Always regenerate packaging after changing quantities or quantity per pack
Shipping IDs are required for labels
Save package structures before moving to the next part of the delivery
Review the full Dispatch Advice before submitting
Delivery Forecasts and Just-In-Time Schedules follow the same basic creation logic
After a dispatch advice was sent it cannot be changed anymore. If you transmitted an incorrect document to Fuba, please contact the purchasing department at Fuba directly.
Labels Download
The dispatch advice provides labels (KLT & A4) for dispatch advices. Click on the dispatch advice title in the Delivery Forecasts view or in the Dispatch Advices view and at the top right you will find a download/print button. Click the wished format and the download starts.
Receipt Advices
Receipt Advices are available from the sidebar.
Use search and filters to find the correct receipt advice, then open the details via the view icon. This lets you review related documents after the delivery process.

Invite & Remove Users
Note: You need Admin rights for this functionality. Please contact your company admin regarding that matter!
You can invite all your colleagues directly in the settings, if you are an admin user. Either you click the invite button in the navigation menu at the right top or you go to the team settings and invite users via the invite button at the top right of the table.
In the Team setting you can also edit users of your team or deactivate them.
Switch
If you are using the Flow with multiple buyers like Fuba, you can easily switch the company context in the middle of the navigation bar.
Feedback and Questions
If you have any questions regarding the processes, please read the manual or contact Fuba . We are very happy to receive feedback about our platform and features. If you have specific wishes or ideas regarding additional features, please add that to the Feedback Portal which can be found in the lower left corner.